Welcome to week three my little croissants! Ready for more torture learning? This week we’re going to cover the essentials when learning how to take bad ass travel photography.
Before I beat you with new information, let’s review. Are you working on travel blogging mistakes and revising your latest posts? If you’re not, don’t make this fairy goblin go over there!
When many travel bloggers first begin, they’re guilty of using phone photography (ducks behind counter to avoid tomatoes for doing this as Gina Bear in Japan). If you want to compete, you need quality over quantity. Photography is a form of art unique to every person who gets behind the camera. Two people can be at the exact same location and their photos will be completely different. I can’t magically teach you to become a bad ass photographer overnight, but I can guide you from zero to hero. If you missed any posts on my Blarch Festa here’s the complete list:
March 10: How to Write Great Content For Your Travel Blog
April 7: How to Grow Your Instagram Like a Boss
April 25: Travel Blogging Media Kit and Pitching to Sponsors
I’m sure you’re dying to know what gear I use. On Gina Bear demystified, I present my heart and soul. My go to for everything is my Cannon Kiss that I purchased before I left Japan. It’s an older model known in the West as the Rebel T3i. I use the standard lens but I’ve upgraded to the Sony A7III. with the Sony 16-35mm lens which is an amazing multipurpose and every day lens. For those following me on YouTube, I’m a travel vlogger as well. I use a mix of my DSLR and my iPhone X. Personally, I think the Gopro is too expensive and the SJCam takes just as great quality photos and videos. As an added bonus, many of the Gopro accessories fit the SJCam. #winning
Shoot thematically
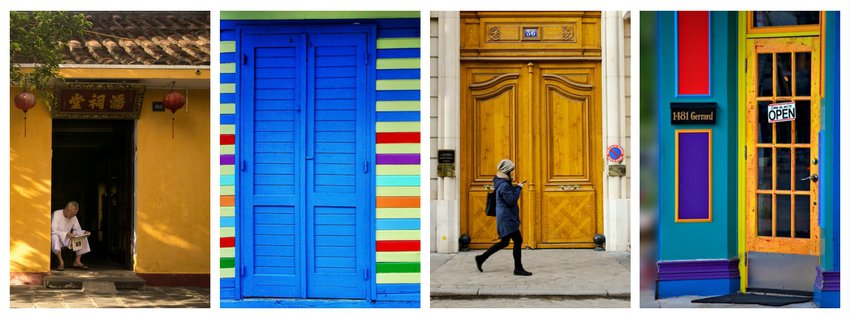
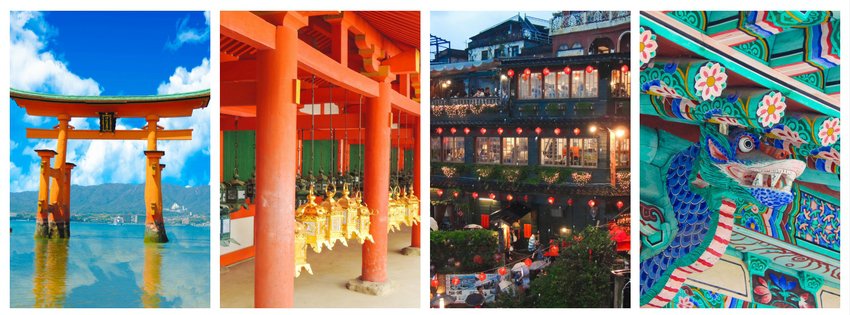
Every movie or book has a theme and so should your photos. Pick a theme and shoot it. For example capture doors, temples, solo shots in nature, etc. Some travel bloggers shoot their feet on beautiful tiled floors or take awesome cliche shots. Practice with all themes and discover what feels real for you.
Shoot with your feet and not your zoom
In my experience, zoomed photos aren’t as great as the ones I actually walked up to. The ones that I walked up to took time to set up. Besides, zoomed photos end up looking super grainy and blurry.
Be curious and not invasive
Don’t be that asshole who just takes photos of people without permission. If you want to take photos of people, do it at a distance so you’re not disturbing anyone. Want a close up shot? Chat with them and ask if it’s okay to take their photo.
Find inspiration on Instagram or Pinterest
Search hashtags and save amazing photos for a chance to recreate your own. Any form of art is a different take on one already made. My favorite thing to do is to look at photos someone else has done and think about how I can put a Gina Bear spin on it.
Location Scouting
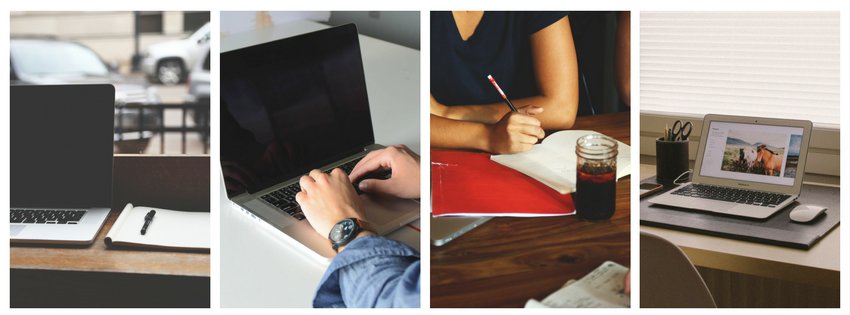
I cannot emphasize enough how important this is. Before I even think of shooting a YouTube video or having an Instagram photo opp, I always scope out the location. ALWAYS. I bring a notepad and take notes of the most scenic places or bring my camera and take photos as notes.
Give zero shits if someone sees you selfie
I know most of us are camera shy and it takes time to build your confidence. Besides, are you gonna remember that mean mug when your look back on your photo and are super proud of it? Didn’t think so. Are you going to feel embarrassed when you get compliments on Instagram about what an amazing shot it was?
Lighting is key
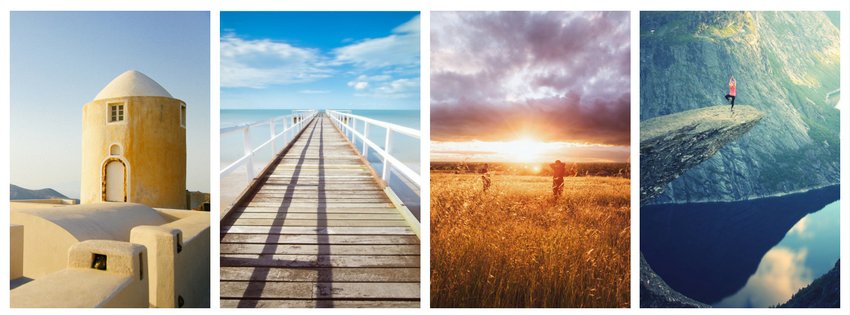
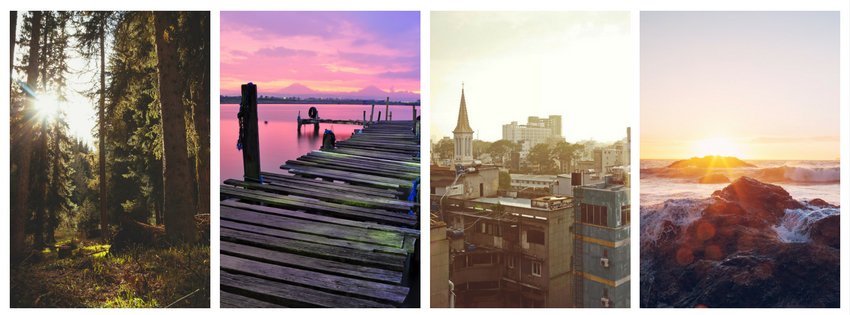
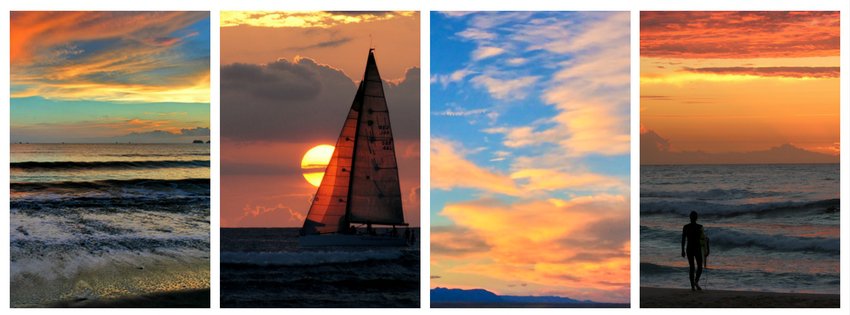
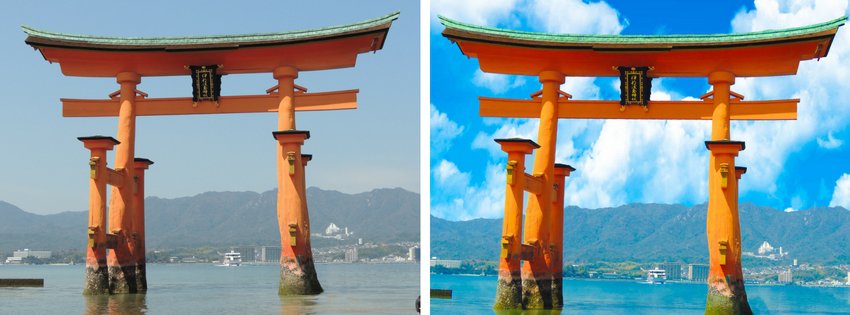
My favorite days to shoot are on days that are overcast. It gives a softbox effect and if you use Photoshop CC you can always go back and add in an awesome sky. You’re also looking for the Golden Hour. What is the Golden Hour you make ask? It’s the hour after sunrise and the hour before sunset. The trick is there is not exact minute you should be shooting at. Photos take time so find out when the sunrise/sunset are and set up camp. The best part? Not many people go out during those times making practice and photos opportune.
P.s. The worst time of day to shoot is noon where the shadows on your face will be ugly and everything will be bleached out.
Study Your Photos
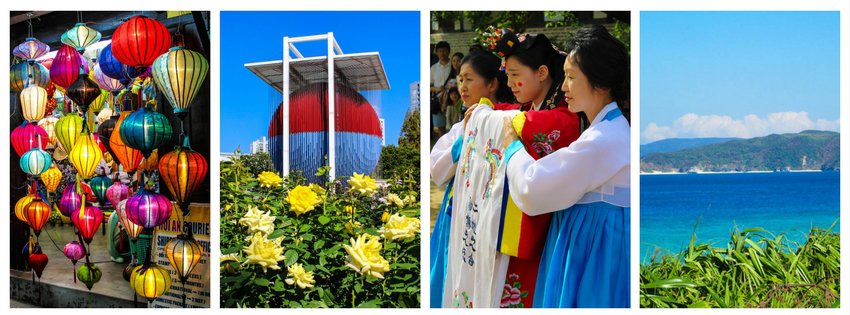
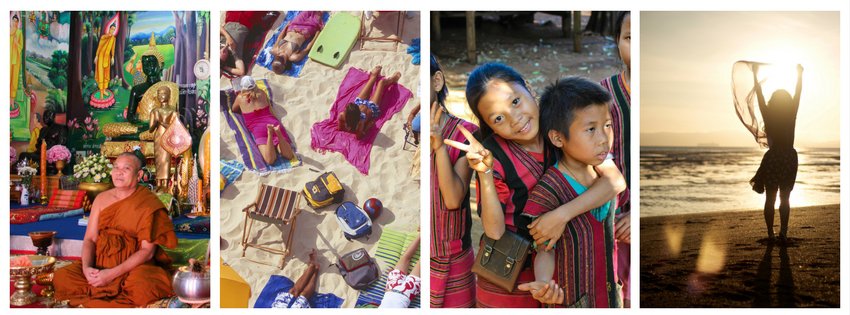
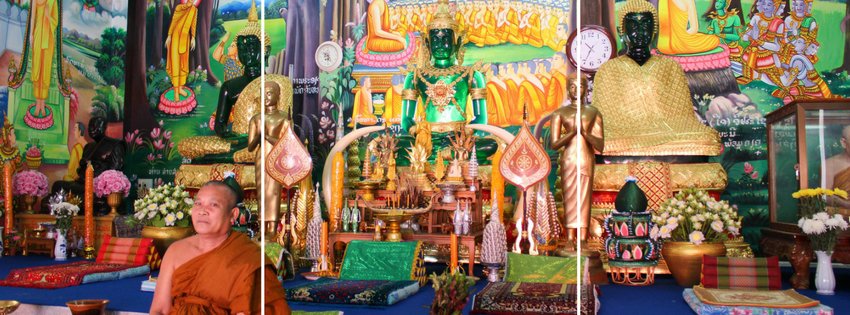
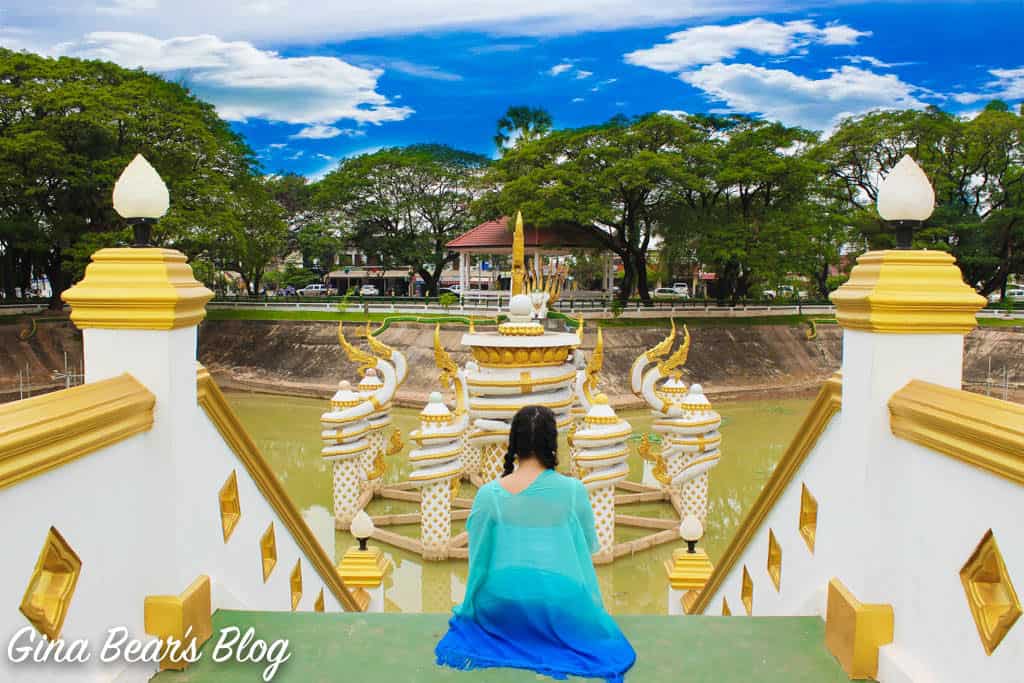
The best way to see what does well doesn’t only depend on the time you post, but it also depends on the location. For instance, my Laos photos are beautiful and vibrant with color. They’re edited well and make me so happy to look at. Did they do well? Not particularly. Location matters because any time I post a photo of Japan, Korea, or Okinawa, they tend to get the most likes. Look at how the photo was taken, when it was taken, and the weather. Those will be great indications of how to get consistently great photos in the future.
What emotion do you want to showcase?
I have a habit of showing my photos to my best friend. If he says wow or gives me a yes go, then I almost always post that photo. I show it to others and if their face is not saying, “Ermergerd YERS” immediately, then I go back and edit or I look for a different photo. If your photo isn’t making you feel anything or your audience, it’s definitely not worth it. In the travel blogger game, you’re all about worldly inspiration.
Rule of thirds
This rule keeps your photos more visually appealing. If your subject is a bit off center, it looks better. Mentally divide your photos into three sections and you’ll immediately start seeing the difference.
Cloud Porn
Remember what I said about shooting at the Golden Hour? You may have to sacrifice those extra hours of sleep or stay on your tired feet a bit longer, but it’ll be worth it as most people are gone by those hours and the clouds make you go, “Oh la la. Boom shaka laka.”
Advice for Solo Shots
The important part is knowing exactly what you want. If you don’t know, how can you capture something you’ll love? Another common mistake I find is people don’t think before they shoot. They just want the shot and take it, only to find it wasn’t so great in the end. Look at your subject and decide what you want in the shot. Think of how you want to remember the moment.
One of my friends who is a model here in Korea taught me that a 25 mm lens is closest to the human eye when it comes to portrait shots. You know what else makes solo photography a lot easier? A gorilla pod that can easily attach to a tree branch or light post. I personally love my tripod as it’s lightweight and easy to carry around. I focus, set my camera on a timer and presto! I also recommend a remote control for that extra photo focus.
Do Something
The same position can get boring. Give it a twirl, pose obsessively, snort laugh. Basically do whatever you feel like while your timer is going. You never know what shot will end up looking the best.
Know your angles
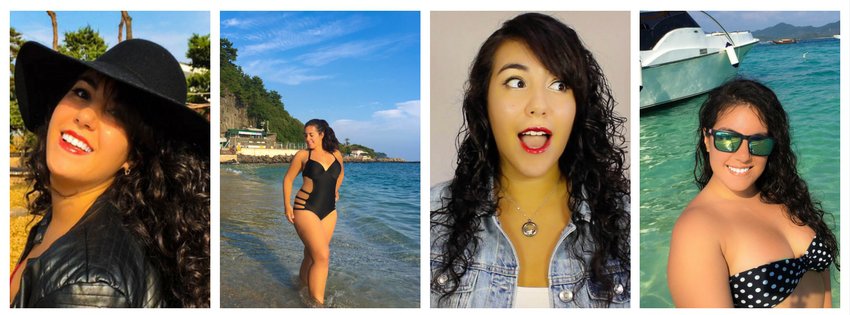
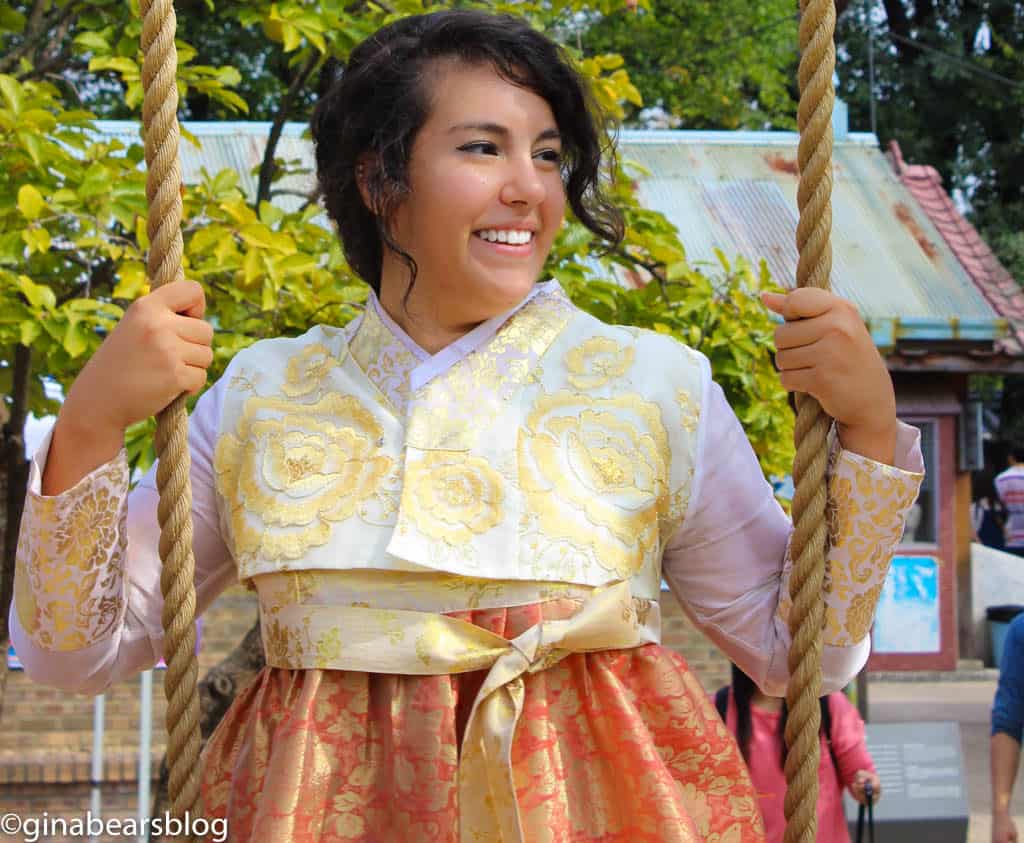
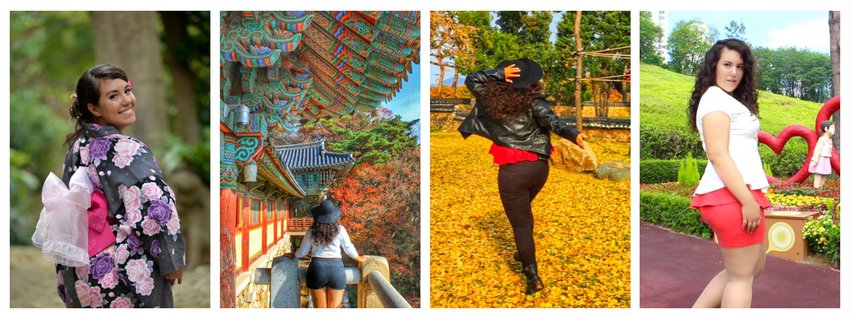
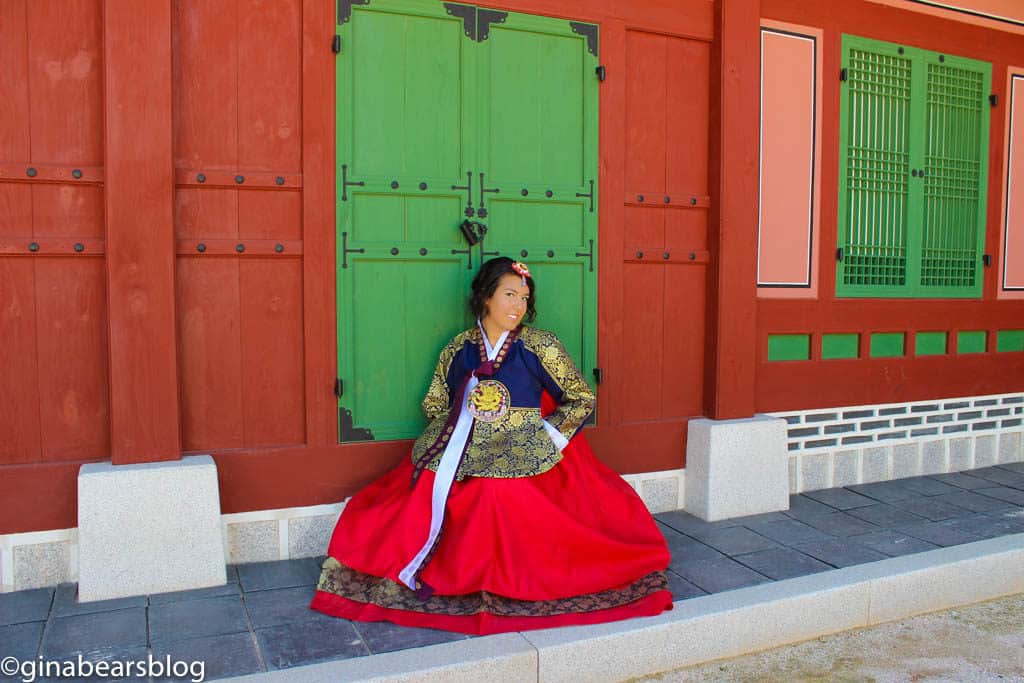
There’s a reason why Kim K is the selfie and Instagram queen. She may take a million photos of herself but through the years has made her selfie game strong. If you follow me on Instagram, you would’ve seen my iconic Gyeongju photo. What’s my best asset? I’ll let you decide.
Back Shots
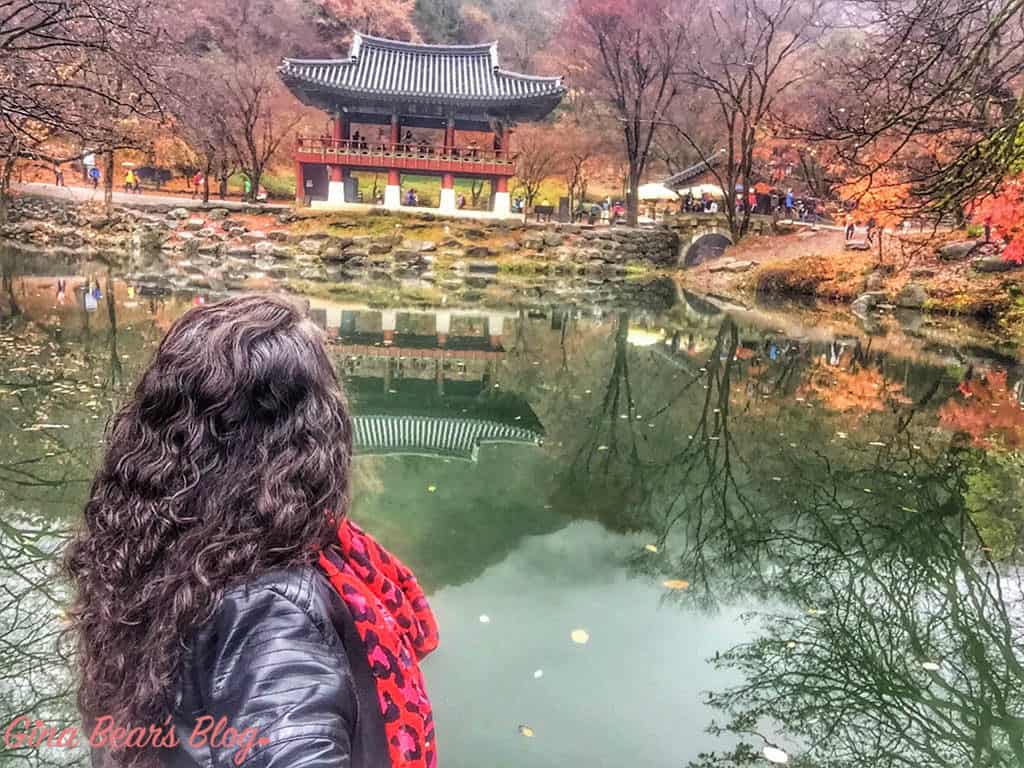
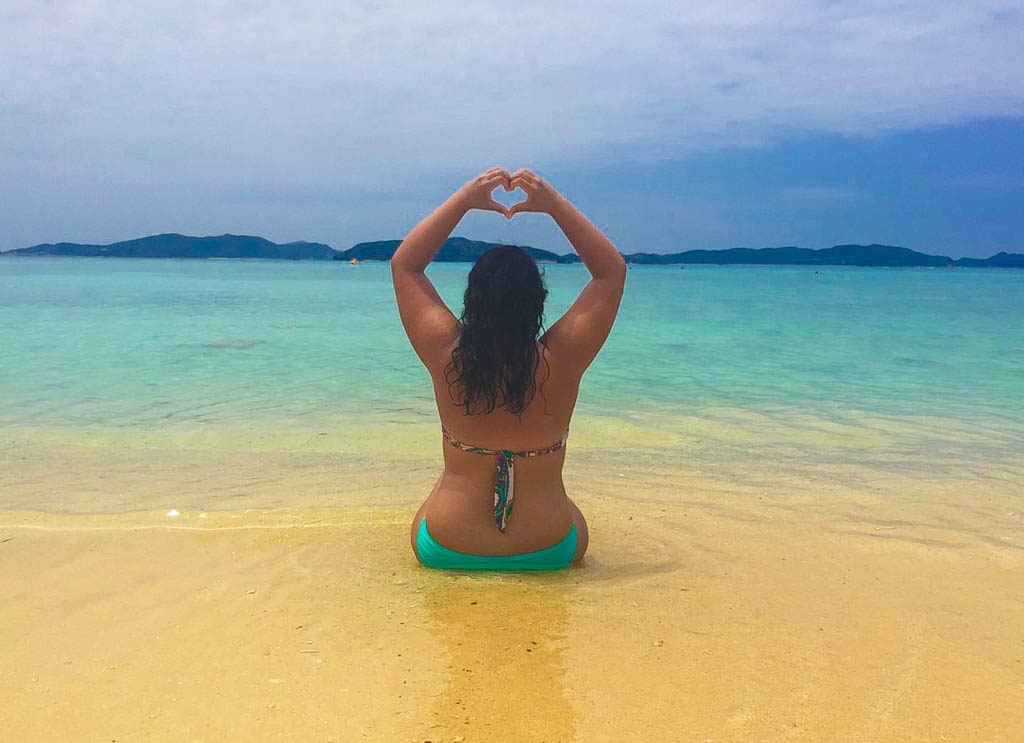
You want to know why so many people are doing this? I can give you a plethora of reasons, but the first is that it’s really hard to fuck up. Bad hair day or acne problems? Didn’t put your makeup on? No problem. Just turn around and show off your best angles. P.s. In this I wasn’t wearing any makeup and starting an allergic reaction break out. Ouch.
Be Cliche
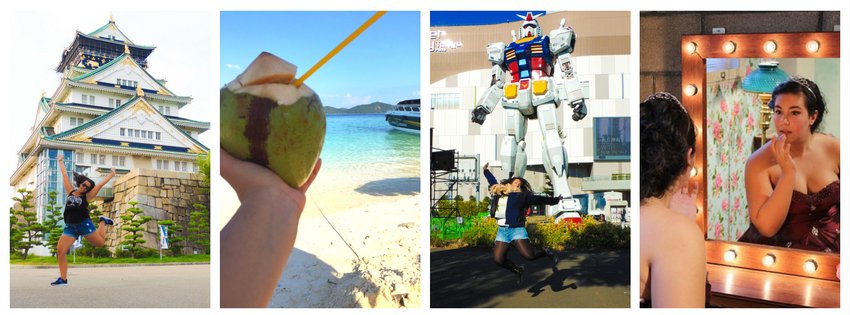
You know those jump shots? They’re super fun and people seem to enjoy them all the same. Even if you’re posing for a candid shot, it’s still candid and doing whatever you like. Mirror shots and drinks held up to some sort of amazing scenery are sure bets.
Use a Selfie Stick
You don’t necessarily have to use a selfie stick for your face, but you can turn around and get great shots. When I use my iPhone, I always use the rear camera angle the camera up and behind me. When I’m doing physical activity like zip lining, my action camera selfie stick is my favorite accessory.
Use color strategically
Every photographer loves working with a specific color palette. Just look at your photos and see which colors show up the most. I personally love bursts of blues and reds and it’s very evident in the clothes I wear and the subjects I’m most geared toward. Just remember it’s all about balance.
Edit, Edit, Edit
As I’ve said before, I use Adobe Lightroom and Photoshop CC. This has been a lifesaver when taking my photography to Buzz Lightyear’s infinity and beyond. Some choose to display untouched photos and that’s cool too. I hate to say this, but if you don’t edit, you really don’t stand a chance. In an age where the bar keeps getting higher, you can’t afford not to tune your images. If you’re not ready to take the plunge into the learning curve and money investment, I used PicMonkey for the longest time and is a great tool for beginners. I also use Snapseed to edit my phone photos.
You Better WERK BETCH
If you think travel photography is all just fun and games… Think again…
One of my favorite travel vloggers, Hey Nadine did an awesome video highlighting her best and worst travel moments. She talks about how she did the W Trek in Patagonia and how even though it was beautiful, they had to suffer through giant gusts of wind through their tent. Womp. Womp.
For some of my absolute photos, I stood frozen and shaking at Everland in South Korea, sweated my ass off during a Hanoi, Vietnam summer, and braved chub rub in Vientiane, Laos.
Hopefully your eyes didn’t cloud over after this photography fiasco and you’ll stick with me until next week where we cover how to take you bad ass travel photography and make it help your growth. And if that’s still not enough check out this free online photography course. There’s videos and great tutorials that will help jumpstart your travel photos!
This post contains affiliate links which means at no additional cost to you, I make a small commission to help keep Gina Bear’s Blog running. Thanks for your support!
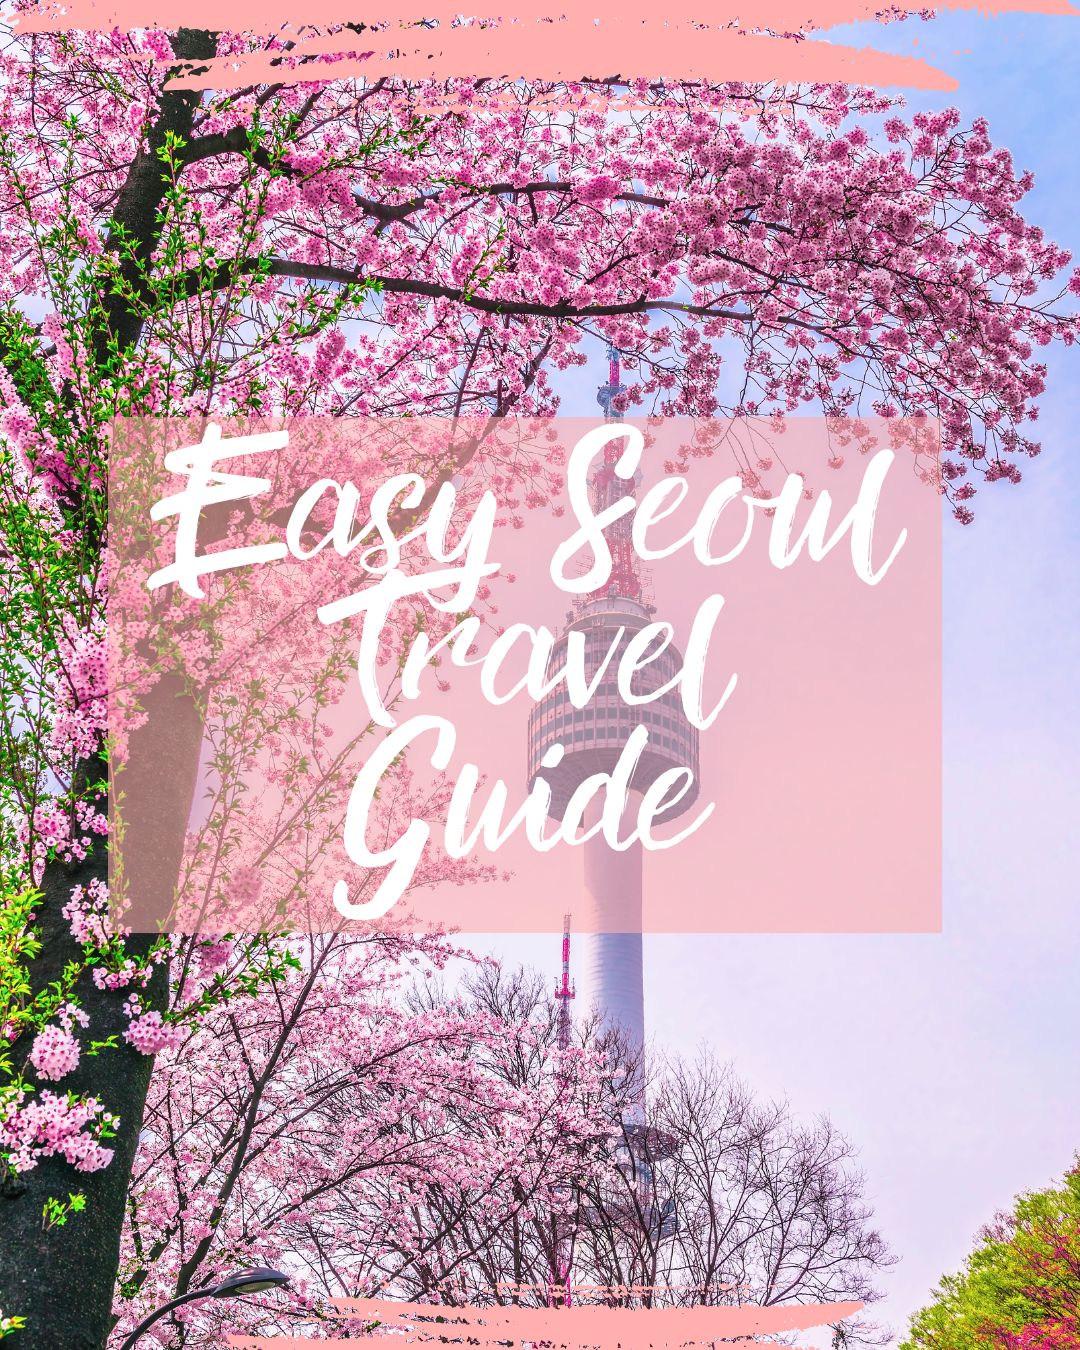
Free Seoul E-Book
Do you love South Korea?
Enter your name and email address and click the button below to receive your Easy Seoul Travel Guide so you can travel like a local!


I actually bookmarked this post, it is amazing. I need to re-read it when I am actually awake and can absorb every single word you’ve written and photos you posted. Wow, those photos are amazing and from the few words that resonated with me, you know what you’re talking about. I desperately need to grow my social media, my blog and enhance my photography skills. You put in a lot of work into this post, thank you.
Wow – that was a truly comprehensive piece with so much to learn, remember and follow up on. I do know what you mean about lighting and the golden hour is a good point. Seeing you do a selfie from behind is something I haven’t yet tried and it really looks interesting and effective. Thank you for also including the equipment and resources you have found works best. For an amateur photographer like me, this post has really given me so much to work to.
AMEN to “give zero shits if someone sees you selfie” – so true! It’s awkward for a second but you’ll never see them again so whoooo cares?!
Great guide Gina! People think that photography is just pointing a camera and pressing the button – oh how wrong can they be! These are great tips for everyone looking to up their photography game. Thanks for sharing!
Oh God I’m so insecure with having myself in the shot! The only time it turns out well is if someone else with a good eye follows me around and takes the shot without my noticing it.
These are such good tips! Getting over the embaressment of taking 6.5 million shots has been something I’ve been working on lately. People often comment or laugh but I remind myself that they’re probably not getting paid to instagram so sucks to suck lol. Also, I love your writing style and could not stop chuckling through out this post.
Awesome tips! I really have to agree. Without editing photographs to some extent it really doesn’t work out anymore! I love those back shots. Only very recently I’ve started taking back shots. Though afternoon is bad time, some architecture photography works out best in afternoons when shadows are strong and interesting too!
What an excellent guide! You really touched the basic and digged a little deeper. I’m terrible at taking other people’s photos but in some countries the people are so interesting and photogenic. I just cracked the awesome selfie, so I might work on my people’s portraits in the future. Thanks.
These are all great tips! It’s important for one to really know and understand their camera first before shooting anything. I had to learn the hard way especially when I didn’t know I could change the settings. There’s no shame in the selfie game at all. Its important to have fun with it!
I really need to buy a selfie stick!! It’s one of those things I used to roll my eyes at when I’d see someone whip one out in public, but I’ve missed out on so many awesome photo ops because I don’t have one!
In regards to what you said about phone photography, I actually shoot so much better on my iPhone! I bought a professional(ish) camera with the intention of “taking better photos” but it’s ended up sitting on my shelf gathering dust. Obviously it’s down to personal preference in the end though!
Hey Rhiannon,
I personally mostly use a camera – 1) out of habit and 2) because I usually take a really old phone on my trips. BUT I have seen many people (including bloggers) taking wonderful shots with their phones (they are pretty advanced nowadays), and the times I use my Iphone I am usually quite satisfied with the result. So no worries about that!
Kind regards
Korinna
This is a valuable insight into a travel bloggers camera expertise. I think that a professional camera is not a must have for a starting blogger/hobby photographer and for most people a good quality iPhone will take as good pictures as any. I do agree with everything else mentioned though and am just rebranding my own instagram account to have the same consistent colours on all the photos. I found some valuable onfo from here and will definitely save this for later!
These tips are amazing. I developed a liking for photography recently after being inspired by all those instagram photographers and I could surely use these tips to improve my amateur skills.
Wonderful tips. I edit my pics but there are some take aways from this article for me. Like picking a theme and taking pictures around it. And also browsing pinterest and instagram for inspirations. Will try out before my next trip.
Totally agree on those tips as I do almost all of these things myself and they’ve worked really well for me 🙂
Oh, timing! Just trying to buy an SJ cam for our trip to Komodo national park next month. Is the 4000 ok for a beginner (bear in mind that we’ve never actually used an action cam before)?
Thank you so much for the tips! I’m using an action camera from SJCAM as well and they are so good. Much cheaper and better than GoPro in my opinion!
You are the right person to give these tips, Gina! So helpful and motivational post!
I am SO nervous to selfie. I can’t get over it. The pics in your selfie section are all taken by other people though, aren’t they? Did you have a tripod? I think I’d be cooler with that…
Most of my photos are taken by tripod or someone else. Give zero shits when selfie-ing because when you get a bad ass picture, it’s worth it.
Shooting street candids does not make someone an *sshole. Catching people in
natural everyday situations can be more interesting than posed shots.
You have provided lots of good photos for inspiration and some excellent tips, too. Thanks for the helpful ideas!
A comment, though, about your suggestion to zoom with your feet, not the lens. You said “zoomed photos end up looking super grainy and blurry.” Changing magnification with your zoom should not have any effect whatsoever on granularity. Using excessively high ISO settings will.
Having a blurry picture when you use the zoom could come from two factors. The first and most likely is camera motion. When you zoom in, you magnify everything including the subject and your own motion. To combat that possibility, make sure your Image Stabilzation (IS) feature is turned on, hold the camera properly and sqeeeeeeze the shutter release rather than poke it.
The second possibility is having the camera focus on a foreground object rather than the subject that you have chosen. If there is something in the foreground that can fool the autofocus, switch to manual.
Walking closer rather than using the zoom will give you a different perspective. That could be an improvement, so it’s certainly an option worth considering. The downside of walking closer is that you can sometimes disturb the activity that you wanted to photograph.
There are only 3 things. Subject, Light, Angle.
Maybe colour, but that is part of light. Maybe 3 and a half? 🙂
And… digital zoom has got a lot better so worrying about getting so close to an image or only using opitcal zoom has changed in the last few years.